Living in the Midwest we only get a small window of summer so it’s important that our yard is awesome so we can maximize the fun. When winters make this much snow, summer has to rock to make up for it!
 We have been working on this planting bed for as long as we have owned this house. It’s been a lot of manual labor, sweating, and a deep farmer’s tan. I am not a plant expert. I am not in charge of keeping the plants alive at our house. However, I do like hanging outside so…I am responsible for helping turn the yard into a great place to hang out.
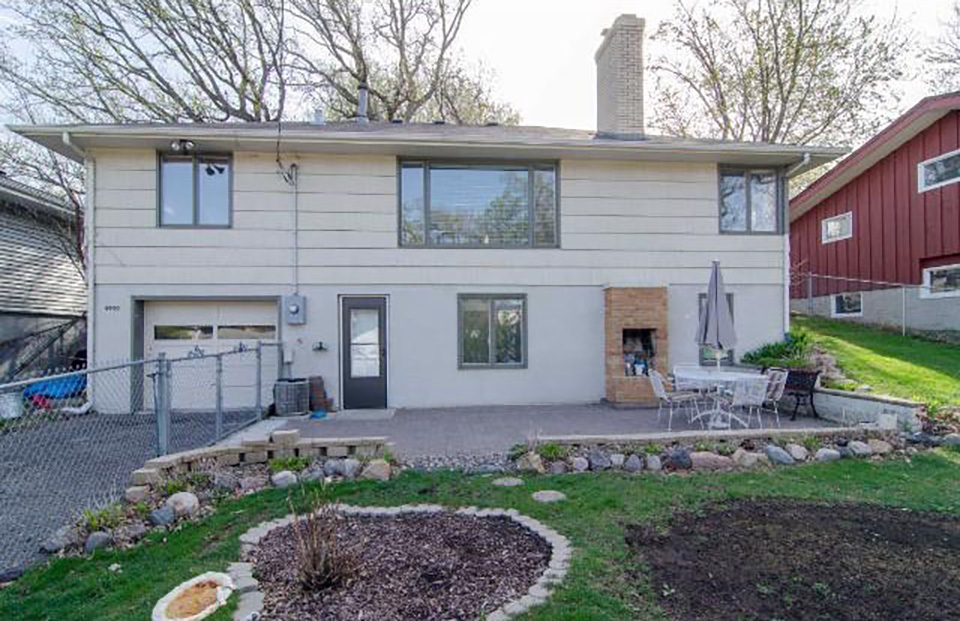 Check out this before pic. This is right when we moved in. There was a random rose bush planting area and ridiculous amounts of hostas that were burning in the direct sun. The decorative block edging was only half done and there were a ton of landscape rocks.
 I knew that we were going to want to change this bed into something more modern and clean lined. Our midcentury house feels right when it has a lot of squared off corners and organized landscaping. I am hoping the landscaping bed looks like my quick photoshopped image when all of the plants are filled in.
When we do landscape projects I always try and salvage as many parts of the existing project as I can. For this planting bed we relocated the decorative small rocks to the side of the house. Nothing grows on that side anyways so that was a natural place to put rocks. Ben made a 2×2 sifter from wire mesh and 2×4’s so we could separate the dirt and rocks. It felt like we were back in the Gold Rush looking for that piece to make us rich. BTW, my mom lives in Florida and she can’t find rocks. All of her yard is sand. It’s weird for her to be jealous of me because I have rocks.
I dug up all of the hostas and gave them to family, friends, and neighbors. It’s pretty common in our neighborhood to leave plants that you dig up on your sidewalk for the taking. I also relocated some of the prettier hostas to the shaded front yard.
We took apart the decorative wall and put the concrete block in our alley with a free sign on it and they were gone by the end of the day. We also ripped out all of the black fabric landscape mesh. Some people love that stuff. More power to you. I say, “Get that out of my life!” If I never see another piece in my life that would be great. What works for me is laying down a few thick layers of newspaper before putting down mulch. We have done this a few times and it’s great. I feel good about using something we already had that’s non toxic and can be used in your yard! Sometimes I find myself reading the headlines and getting distracted so I recommend that you use a newspaper you have already read!
Now we have good dirt with mulch on top. We finished this last summer and planted some grasses. Karl Foerster to be exact. Karl and I are close friends. The planting bed is big enough where there is room for three rows of plants on the backyard side and 3-4 rows on the side yard. The goal is to have the plants be so big, beautiful and wavy that we don’t even have to mulch.
 This summer we FINALLY were able to install the metal edging. We were thinking about using weathered steel like this condo building by my work. For those out that that aren’t architecture nerds it’s steel that has been allowed to rust so that it has a cool orangy, rust coating. I priced that out and it was suuppper expensive. Now I know why million dollar houses have beautiful edging. Soooo I started looking around for more affordable options. I knew that we wanted something that has clean lines. I like the mix of the hard edging with the prairie grasses that are unorganized and wild. I found some metal edging that came in brown or green. It was coated to keep it from rusting but I was hoping that it had some flaws so it would rust over time. The edging had matching stakes that came with it and corner pieces. It seemed right up our alley with a mix of convenience, price and clean lines.
The edging comes in 8FT and 4FT sections so we grabbed what we needed and a few corner pieces to join the edges together. I also bought a few extra stakes just in case the longer pieces needed some extra support.
 Installing the edging was relatively easy. We used a spade to define a slot where we could bury the edging a little and join the pieces together. We were able to extend the planting bed a little so we didn’t have to make any cuts. Amazzzing! I don’t have a blade for the chop saw that cuts metal cleanly and didn’t want to go get one so using full pieces worked out well.

The only trick to the edging was that the stakes for the edging are attached so if you want to use them you have to pop them off and then you have a notch that is taken out of the edging where you started. That means you have to flip the edging upside down each time to pair up the spot where you removed the stakes and use a stake to tie the edging together. Easy peazy. I think we skuffed the pieces up enough while we were installing it that we probably will get the rusted look down the road.

We added the metal edging all the way around the grass edge of the planting bed and also on the inside of the patio. Adding it on the inside of the patio made sure that there weren’t any exposed sharp edges and gave it a stand alone refined look.

 This is what it looks like today. I also added some flowering annuals for color. I am hoping that someday we will have grasses, wildflowers and other native prairie plants that overflow the bed. Once the plants have matured the patio will have some privacy and attract butterflies and bees. Right now the dogs really like to run through the grasses. I think the grass tickles their tummies a little.
Check out the House Tour to see how this fits into the rest of the house vibe.

Leave a Reply